Ah yes, pickled ginger – the one condiment that practically screams “I’m eating sushi!” Lightly sweet, tangy and slightly salty, it enhances the flavor of sushi without overshadowing it. But if you thought pickled ginger only featured in sushi restaurants, think again – you can easily make it at home in 4 simple steps! So, let’s get pickling and learn how to make homemade pickled ginger for sushi.
Table of Contents
Quick Recap of Key Points
How do I make my own pickled ginger for sushi?
Answer: Making your own pickled ginger for sushi is easy. All you need is fresh ginger, rice vinegar and sugar. Simply slice the ginger thinly, add it to a mixture of rice vinegar and sugar, and let it marinate for at least an hour before serving.
What Ingredients You Need to Make Your Own Pickled Ginger
Making your own pickled ginger is an easy process that requires just a few simple ingredients. The most vital ingredient to making pickled ginger is fresh, unpeeled ginger root. You will also need rice vinegar, sugar, and salt. The choice between white rice vinegar and black rice vinegar is up to personal preference as it comes down to flavor; some believe the black rice vinegar adds a richer flavor while others think the difference between the two is insignificant. Ultimately, you’ll also need a clean jar with an airtight lid to store your pickled ginger.
When deciding whether or not to use sugar when preparing pickled ginger, opinions vary among those who make their own. Adding sugar can give the pickled ginger a more sweet flavor but detracts from its natural flavor, so for those wanting an authentic experience it’s best to leave it out. Alternatively, if you’d like sweeter pickled ginger, adding a tablespoon of sugar into the mix should do the job. Salt too can be omitted from the recipe but can add balance and texture to taste.
Now that you know what ingredients you need to make your own pickled ginger, let’s move on to how to prepare and cut the ginger in the next section.
How to Prepare and Cut the Ginger
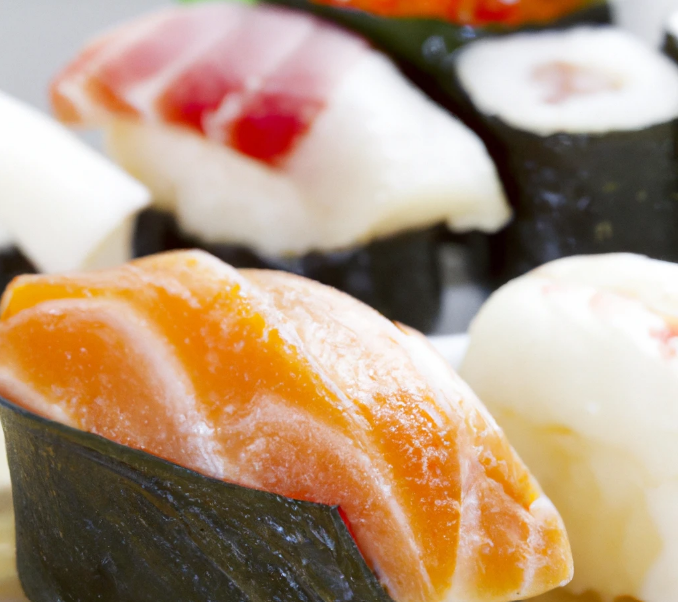
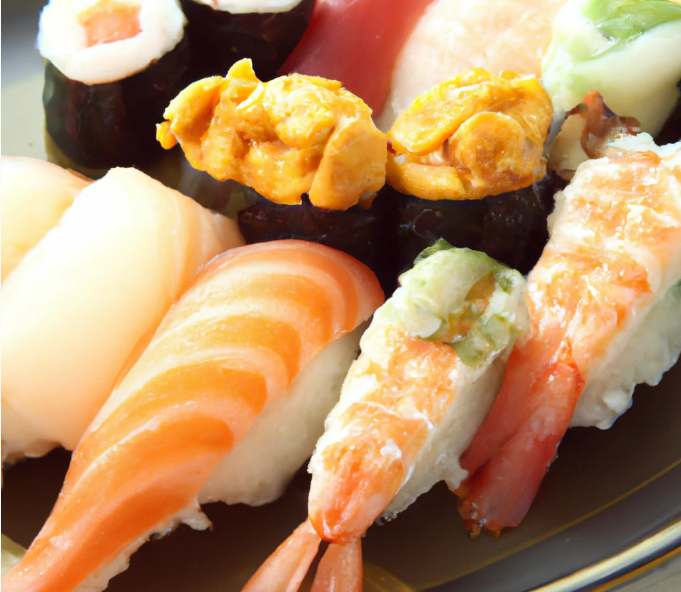
Ginger is a necessary part of any sushi dish. Pickled ginger is often served with sushi in the form of a garnish, and it’s also used to cleanse the palate after eating certain pieces of fish. Knowing how to pickle your own ginger at home can save you money and add another layer of flavor to your sushi experience.
When preparing your own ginger for pickling, it is important to use fresh, young ginger root. To start off, peel the outer layer using either a sharp knife or a vegetable peeler. Once you have peeled off the skin, rinse the ginger off under cold running water. Then slice the ginger into thin strips with a sharp knife or a mandoline slicer. The strips should be cut very thin in order to allow for better penetration of the pickling mixture.
Because everyone has their own preferences when it comes to pickled ginger, some people prefer thicker slices while others enjoy making theirs even thinner. Thinner slices will make sure that your ginger will quickly get covered in the brine and it will be ready faster than if you had left them very thickly cut. Debate on this point may arise over which type of preparation renders an optimal outcome; thankfully, experimentation with different slicing techniques remains available for those who wish to explore further options.
Once you have cut your ginger into the desired shape, it is time to move onto making the pickling mixture which will give that tangy, sour kick that makes pickled ginger so delicious!
Making the Pickling Mixture
Making the Pickling Mixture is an essential part of making pickled ginger. The ideal pickling mixture solution should combine ingredients that provide flavor, but also enough acidity to preserve the vegetables. Many recipes call for a combination of vinegar, salt, sugar and optionally a few spices.
To start, determine the amount of pickling mixture you will need to make your desired quantity of pickled ginger. Generally, 1 gallon of vinegar mixed with about one cup each of salt, sugar and optional spices is suitable for a quart of vegetable slices. Use white vinegar as it has a milder taste than other varieties and can provide more control when seasoning your pickles with herbs and spices. However, it’s also possible to use apple cider vinegar or rice vinegar in the mixture if desired. This is an optional step as it can lend additional flavors to the finished product that white vinegar alone cannot replicate.
When choosing between types and brands of vinegar, consider that distilled white vinegar is made from grain-based alcohols while cider or wine vinegars are made from fermented fruit juices. Depending on personal preference and budget, a higher cost red or white wine vinegar may bring out more flavor than regular white vinegar in the finished product but could be more expensive than buying white distilled malt vinegar at some markets.
Finally, depending on individual tastes, adjust the sweetness level of your pickling solution by adding more sugar or salt until your desired flavor is achieved.
Now that the pickling mixture has been carefully prepared with the right type and balance of ingredients, it’s time to move on to Choosing the Right Vinegar for pickling ginger in the next section.
Choosing the Right Vinegar
Choosing the right vinegar is a crucial step in crafting perfect pickled ginger for sushi. Quality and flavors of vinegar can vary depending on type and brand, so it’s important to know your options before picking one.
The two most popular choices are rice wine vinegar and white vinegar. Rice wine vinegar is made from fermented rice and has a milder taste than its counterpart, resulting in a sweeter flavor profile. White vinegar is usually distilled or made from grains and fruits such as apples, resulting in a strong sour taste.
The type of pickled ginger you make will ultimately depend on your preference – if you’re looking for something subtly sweet, go with the rice wine vinegar; if you want something sharp and tangy, trywhite vinegar. No matter which option you choose, both offer great flavor and can make delicious pickled ginger!
Now that you know how to select the proper vinegar for your pickled ginger, let’s move onto the next step: The process of pickling the ginger.
The Process of Pickling the Ginger
The process of pickling the ginger is the core of making your own pickled ginger. Even though this process requires the most time, it’s important to pay attention to each step. To begin the process, take a large amount of ginger and cut it into thin slices. This can be done by using a peeler or a sharp knife. Rub some salt into the sliced ginger to ensure that all pieces are evenly salted. After an hour or two, add enough rice vinegar to cover all pieces of ginger as well as 2 tablespoons of brown sugar and 1 teaspoon of sea salt for added flavor. Allow the mixture to marinate for 24 hours before moving onto the next steps.
Some people may argue that you can skip marinating and pickling the ginger completely in order to save time. However, it is important to let the flavors soak up and mix together during this stage for best results. On the other hand, adding additional sweeteners and spices like honey or sesame oil during this stage can be another way to customize this dish to fit one’s taste.
Now that you have finished preparing and pickling your ginger, it’s time to move onto boiling your jar with lid.
Boiling the Jar with Lid
Boiling the jar with lid is an essential part of making your own pickled ginger at home. To start, you’ll need to find a heat-safe jar and lid, ensuring that the lid is both well-fitted to the jar and airtight. From there, fill the jar with enough water until it’s about two thirds full. The next step is to place the jar into a large pot of boiling water, making sure that the boiling water does not reach any higher than the top of the jar’s lid. It’s important to maintain a slow boil for about ten minutes or until the jar feels hot when touched.
Once removed from the boiling water, carefully unscrew and remove the lid and empty out all the hot water. Then screw on the now sterile lid again, firmly ensuring it is entirely sealed shut without any leakage of air. This small step will help ensure that any bacteria present on the surface of your fermenting pickled ginger are killed off before moving onto fermentation stage which will be discussed in-depth in the following section.
Making your own pickled ginger can seem a little intimidating if tackled alone. But by taking one step at a time and following this tutorial till completion, you are now ready to reap the benefits from your homemade DIY pickle project. The next section details all the health perks that come with picking your own ginger at home.
The Benefits of Making Your Own Pickled Ginger
Making your own pickled ginger at home is a great way to enjoy the benefits of the food. Pickled ginger is often served with sushi dishes and can be used in many creative and delicious recipes. With its tangy sweet-sour taste, homemade pickled ginger is full of flavor, crunchy texture, and plenty of nutrition. Not only does making your own pickled ginger provide you with flavor and satisfaction when eating it, but it also offers some health benefits.
One benefit of making your own pickled ginger is that it allows you to choose the best ingredients for quality control. By customizing the ingredients you use, you can find the perfect balance of flavors to suit your taste preferences. Homemade pickled ginger also eliminates any potential preservatives or additives that might be found in store-bought products. Plus, the freshness of homemade pickling will allow you to retain more of the beneficial vitamins and minerals found in fresh ginger root.
However, there are some drawbacks to making your own pickled ginger at home. The most notable one is time: it can be difficult to find time in one’s schedule to prepare ginger and wait as long as it takes for it to cure (2-3 weeks). Additionally, without proper knowledge or research, it can be difficult to accurately determine the measurements for each ingredient so that the desired flavor profile can be achieved.
In conclusion, although making your own pickled ginger does take significantly more effort than just buying it from a store, those who make their own gain the opportunity to customize their product with the best ingredients available which may provide them with additional nutritional benefits. Now that we have discussed several benefits of making your own pickled ginger, let’s move on to talking about how you can finally get to enjoy this delicious condiment!
Enjoying Your Homemade Pickled Ginger
Homemade pickled ginger is a great addition to many dishes, particularly those from Asian cuisine. It can be used as a condiment, in salads, or combined with other ingredients for sauces and marinades. Since it has gone through the pickling process, it has a slightly tart, sweet flavor that pairs nicely with many dishes. Plus, it adds a crunchy texture to whatever you’re eating.
Most people enjoy the taste of pickled ginger, but there are some who don’t like the flavor or texture. This could be simply due to personal preference or because they aren’t familiar with this type of flavoring. If you want to give it a try but don’t know if you will like it, start by including smaller amounts and gradually increase the amount used until you know how much you are comfortable with. Even if you don’t care for the taste initially, giving yourself time to get used to it could be beneficial in order to harness its many health benefits.
Pickled ginger is packed with nutrients such as Vitamin C and antioxidants that help reduce inflammation in the body and boost your immune system. It also aids in digestion by stimulating digestive enzymes and reducing stomach upset. For some individuals, it may even help reduce their symptoms of acid reflux. For those looking for an alternative way to get these beneficial nutrients without having to eat large amounts of raw ginger root everyday, pickled ginger could be the ideal solution.
Using homemade pickled ginger can be an easy and delicious way to add flavorful complexity to a variety of dishes while gaining healthy benefits along the way. Whether you already love this unique condiment or are looking for new alternatives for flavor and health purposes, giving pickled ginger a try is definitely worth doing.
Essential Points to Remember
Homemade Pickled Ginger is a great addition to many dishes and has a slightly tart, sweet flavor that pairs nicely with many dishes. Pickled ginger can provide beneficial nutrients such as Vitamin C and antioxidants which help reduce inflammation in the body and boost the immune system. It also aids in digestion. For those looking for an alternative way to get these beneficial nutrients without having to eat raw ginger root everyday, pickled ginger could be the ideal solution. Using homemade pickled ginger can be an easy and delicious way to add flavorful complexity to a variety of dishes while gaining healthy benefits along the way.
Answers to Common Questions with Explanations
What type of vinegar should I use for pickled ginger for sushi?
When pickling ginger for sushi, the best type of vinegar to use is rice vinegar. This type of vinegar has a milder flavor compared to other vinegars and it won’t overpower the delicate flavors of the ginger. Additionally, rice vinegar has a high acid level which helps preserve the ginger and gives it the ideal texture for sushi. Using distilled white vinegar or apple cider vinegar may yield a stronger tasting pickled ginger and may not have the same preservative effect as rice vinegar.
Are there any special cooking instructions for pickled ginger for sushi?
The special cooking instructions for pickled ginger for sushi are to slice the ginger as thin as possible, boil it in water with a bit of rice vinegar, sugar, and salt, then store it overnight in an airtight container in the refrigerator. This process helps soften the texture of the ginger as well as infuse it with flavor. Additionally, it’s important to use only fresh ginger that has been peeled for best results.
How long should the pickled ginger for sushi sit for optimal flavor?
The optimal flavor for pickled ginger for sushi depends on your personal preference. However, in general it is recommended that the pickled ginger should sit from anywhere between 24-48 hours before use. This way the ginger has time to absorb the flavors of the vinegar and other ingredients, resulting in a flavorful and tender texture. Additionally, you can add more salt or sugar to the pickle if desired to further enhance the taste accordingly.
What ingredients do I need to make pickled ginger for sushi?
To make pickled ginger for sushi, you will need fresh ginger root, white vinegar, sugar, and salt.
Ginger root is the main ingredient so it’s important to find good quality ginger with a smooth skin that is not wrinkled or soft. You’ll need to clean it, cut off the ends and peel off the outer layer before slicing it into thin disks.
White vinegar is used as a souring agent as well as to prevent browning of the ginger slices. Depending on how much flavor and tanginess you prefer, you can adjust the ratio of vinegar and water.
Sugar is necessary to balance out the acidity from the vinegar and add a hint of sweetness. Use regular granulated sugar or try substituting other sugars such as brown sugar or honey.
Finally, adding a pinch of salt will round out the flavors even more and help bring out the natural sweetness of the ginger.
Following these four simple steps — sourcing, washing, slicing and seasoning — will help you get started with making pickled ginger for sushi at home!
What variations can I make to the pickled ginger for sushi recipe?
One variation to the pickled ginger for sushi recipe is to use different types of vinegar. Different vinegars, such as rice wine vinegar, white wine vinegar, and apple cider vinegar, have unique flavors that can add an unexpected twist to the pickled ginger. You can also experiment with different sweeteners like honey, agave nectar, or cane sugar. Additionally, you can switch up the seasonings you include such as adding spices such as turmeric or cumin, or even some herbs like cilantro or rosemary. The possibilities are endless!